How to Sew a Headband
There are several ways to learn how to sew a headband.
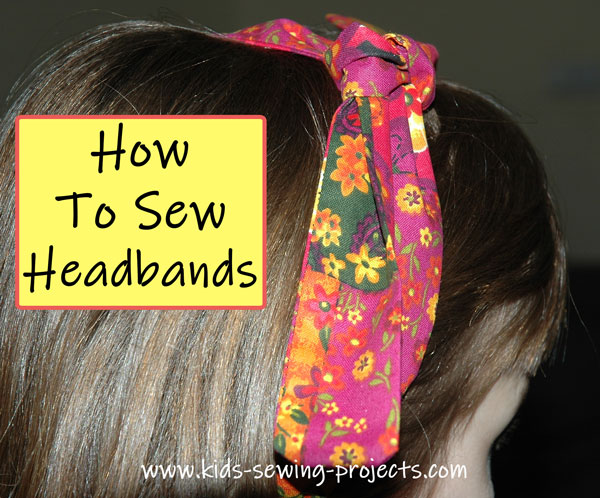
Included on this page are these free sewing projects:
Sewing Materials Available
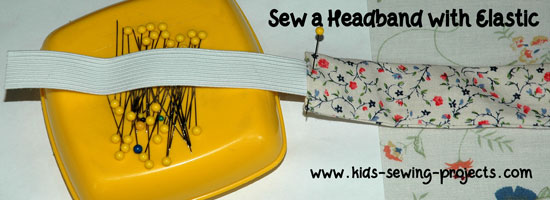
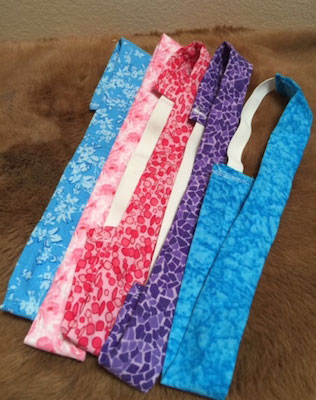
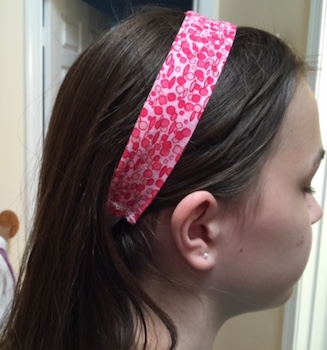
Headband with Elastic
Cut a strip of fabric 15"x3". Fold strip in half with right sides together. Sew long edge leaving ends open. Turn right sides out and iron flat.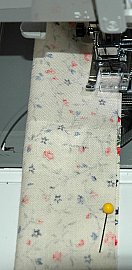
Using a piece of elastic 6 inches long, tuck ends of material in and insert elastic end in. Pin and sew both ends. Backstitch several times to secure.
Headband with Ponytail Holder
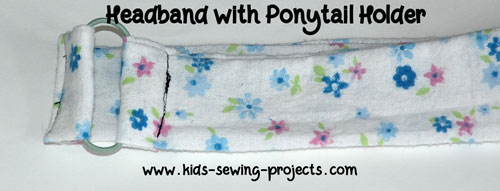
Cut a strip of fabric 4"x22". Fold strip in half with right sides together. Sew long edge leaving ends open. Turn right sides out and iron flat. Insert ponytail holder by folding edge of material over elastic band like picture below.
Sew. Attach the other side the same way and sew.
How to Sew a Velcro Headband
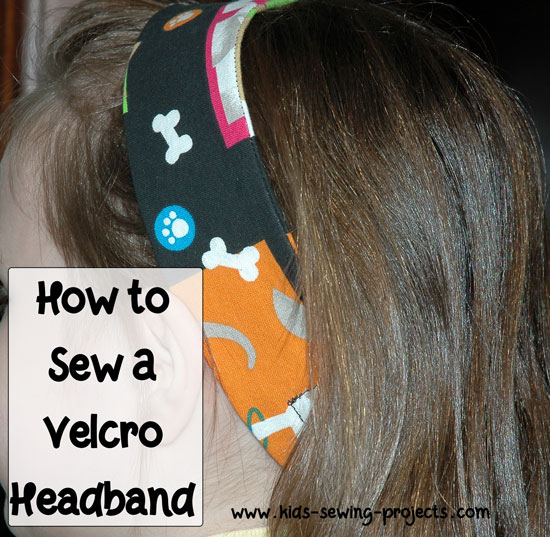
Cut a strip of fabric 4"x23". Fold strip in half with right sides together. Sew long edge and one short end. Turn right sides out and iron flat. Tuck open end in and sew in place.Attach 1-2 inch piece of velcro on end of headband. Pin in place and sew along the velcro edges. Continue with the other end making sure velcro is on the right side to be attached to other velcro end.

Headband Sash
Cut a strip of fabric 5"x36". Fold strip in half with right sides together. Sew long edge and one short end. Turn right sides out and iron flat. Tuck open end in and sew in place.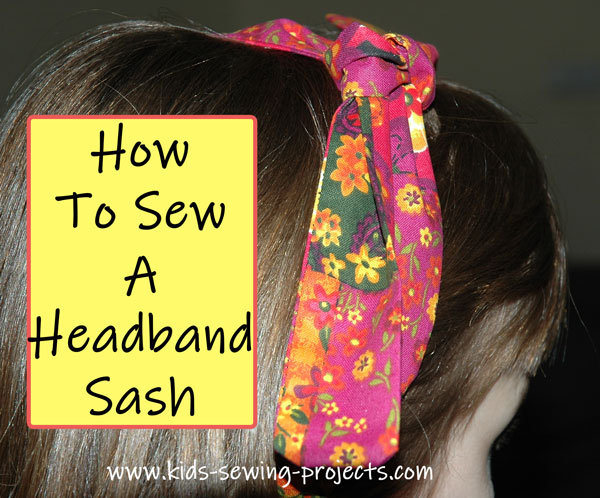
Elastic Band
Cut a strip of fabric 3"x45"Cut 1/4 inch elastic, 20 inches long
Fold strip in half with right sides together. Sew long edge. Turn right sides out. Insert elastic in by attaching a safety pin into the elastic and pushing through the strip of material. Tuck open ends in and sew in place catching the elastic in the seam. Back stitching several times to make secure.
Need a fun hand sewing project?
Felt Sewing Patterns!
Pillowcase Scarf style Headband
by Adrienne (Brenham, TX)Once you finish learning how to sew a headband try this fun sewing project to add to your hair accessories.

I'm just learning to sew and your site has been so valuable!
I made my daughter a pillowcase dress and wanted to use the leftover material. I basically cut off the bottom part of the pillowcase, with the opening to be the same as the bottom hem of the dress.
With the scrap material, I cut off one of the remaining corners in a triangular shape from the closed end of the pillowcase, as big as I was able to. (The triangle has 2 seams already done - part of the pillowcase corner - and one open edge where it was cut.) I also cut out two strips as long as I could, through both layers of the pillowcase (along a seam), each about 2 inches wide.
I ended up with 2 strips about 10 inches long. I then sewed the strips in half lengthwise so they were a thicker, long, narrow strip, and sewed each of them to the sides of the cut edge of the triangle of fabric, about 1 inch in. I then sewed ribbon over the sewed part of the straps, and over the entire bottom of the cut edge of the fabric to close it off.
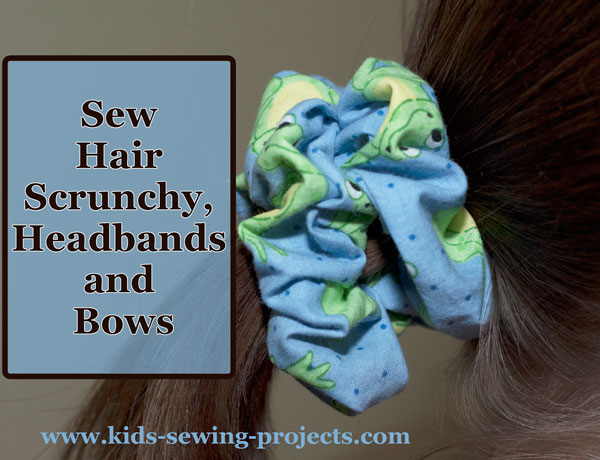
More Hair Scrunchy and Bow Projects
Related Kids Lessons Projects:
~Kids Sew Lessons, ~Applique Shirt Project, ~Bath Mitt, ~Binder Cover,~Christmas Cone Ornaments,~Cloth Basket,~Cloth Basket Tray with Ribbon Corners, ~Cloth Dinner Napkins or Bread Cloths,~Easy Sew Curtains,~Fairy Costume, ~Headbands,~Jean Skirt,~Pillowcase Skirt, ~Prairie Points,~Sew Purse, ~Recycle Your Old Tie Projects,~Reversible HeadBands, ~Shirt into Shorts Project,~Shirt and Transform it into a Dress,~Tie Pillow, ~Tie Skirt,~Tiered T-shirt Skirt, ~Wall Hanging, ~Shorts, how to sew, ~Entertainment Bag
Follow Kids Sewing Projects


