Sew a Pocket Organizer
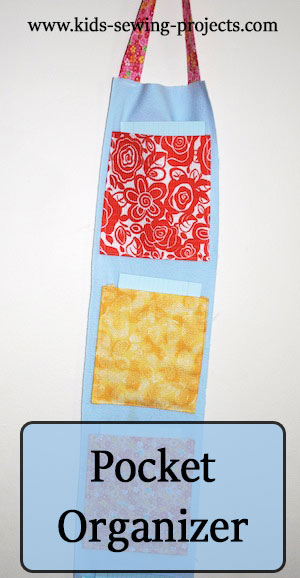
I love this pocket organizer for its many uses! You can make as many pockets as you'd like and create a menu planner, chore chart, homeschool planner or even cards with preschool activities.
Sewing Materials Available
Sewing a Pocket Hanger Organizer Tutorial
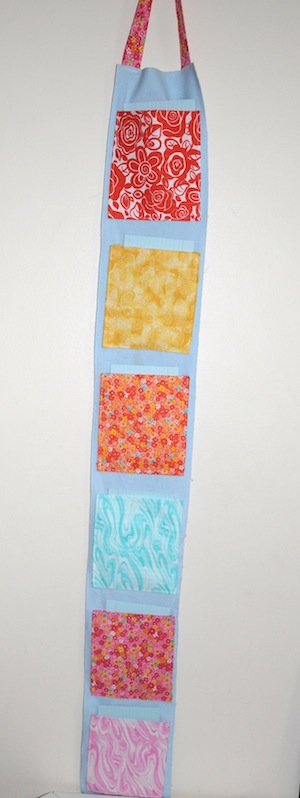
I made my organizer with 6 pockets. Here is what you will need:- 6- 12x6 rectangle of different fabric
- 6- 6x6 squares of interfacing
- 45x6 inch piece of felt or flannel for back
- 2 1/2 x 15 piece of material
- 1 1/2 x 15 piece of interfacing
Step 1- Make Pockets
- Take a strip of 12x6 fabric and iron interfacing on half.
- Fold bottom edge up to match edges. Iron flat.
- Fold edges on three sides in 1/4 inch. Iron flat. This help keeps edges stay folded inwards. Continue with each pocket piece. One edge will be your fold and won't need turned in.
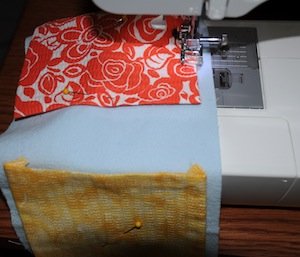
- Take folded pockets and pin in place on your large piece of
felt or flannel backing. We spaced ours out about 1 1/2 inches
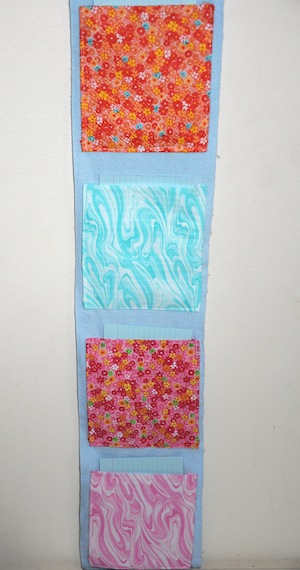
between each pocket. Sew all pockets to backing
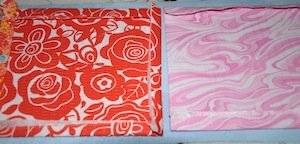
Step 2- Make Hanger
To make your hanging piece iron interfacing onto your strip of 2 1/2 x 15inch material. Then fold both edges toward middle overlapping each other. Sew down the middle making sure to enclose the seams.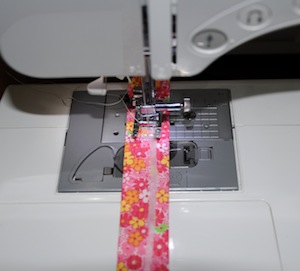
Pin to back of flannel or felt backing and sew in place.
Now you are ready to use as your organizer.
Follow Kids Sewing Projects


