Prairie Points
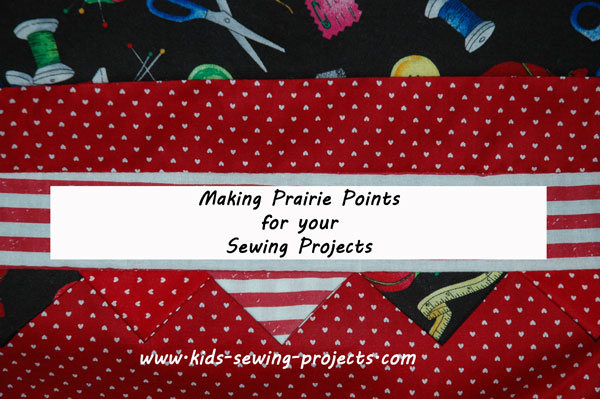
On this page are directions on how to create prairie points to decorate your sewing projects.
3"x3" square = 1 prairie point
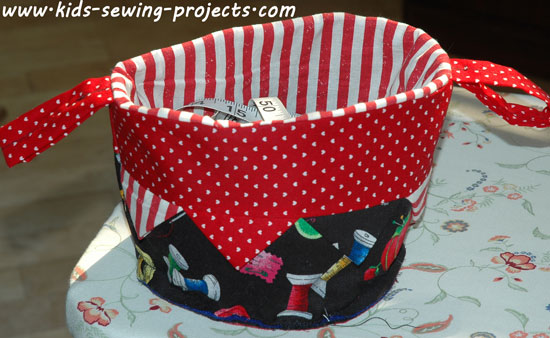
Prairie points could be added to the edge of quilts or blankets. We've added them to a cloth basket you'll see below. Use your imagination for adding them to finish off many different sewing projects.
Sewing Materials Available
How to Sew Prairie Points
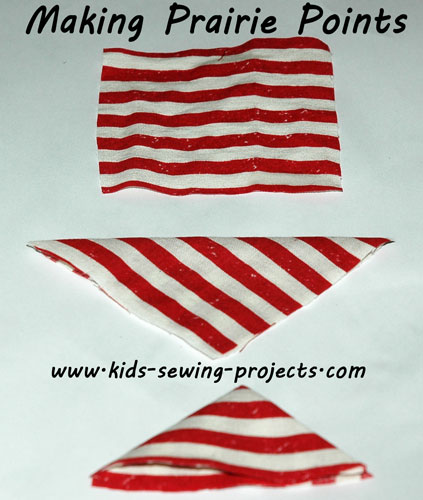
Fold your square fabric in half making a triangle. Iron flat. Turn again to make a smaller triangle. Iron flat again.
To add to your project pin to edge and sew over the top of each point.
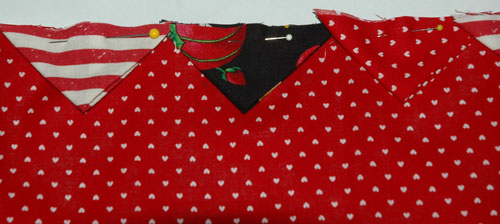
You can add these around the outside of quilts, cloth baskets, pillowcases, pillows, whatever you can imagine.
For these projects you would sew the prairie points as shown above. For example, to add to a pillow you would sew points to one of your rectangles or squares of material and then sew the two right sides together. Once you turn your project right side out your points will be showing.
Here is another example of what you can do with prairie points.
Related Kids Lessons Projects:
~Kids Sew Lessons, ~Applique Shirt Project, ~Bath Mitt, ~Binder Cover,~Christmas Cone Ornaments,~Cloth Basket,~Cloth Basket Tray with Ribbon Corners, ~Cloth Dinner Napkins or Bread Cloths,~Easy Sew Curtains,~Fairy Costume, ~Headbands,~Jean Skirt,~Pillowcase Skirt, ~Prairie Points,~Sew Purse, ~Recycle Your Old Tie Projects,~Reversible HeadBands, ~Shirt into Shorts Project,~Shirt and Transform it into a Dress,~Tie Pillow, ~Tie Skirt,~Tiered T-shirt Skirt, ~Wall Hanging, ~Shorts, how to sew, ~Entertainment Bag
Follow Kids Sewing Projects


