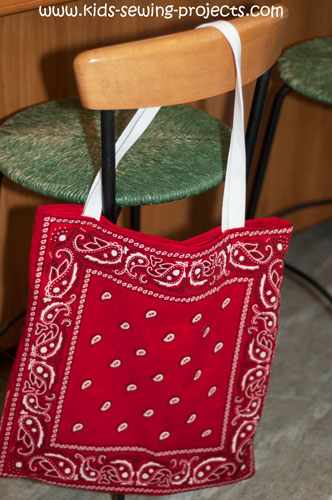
Sew a Tote Bag
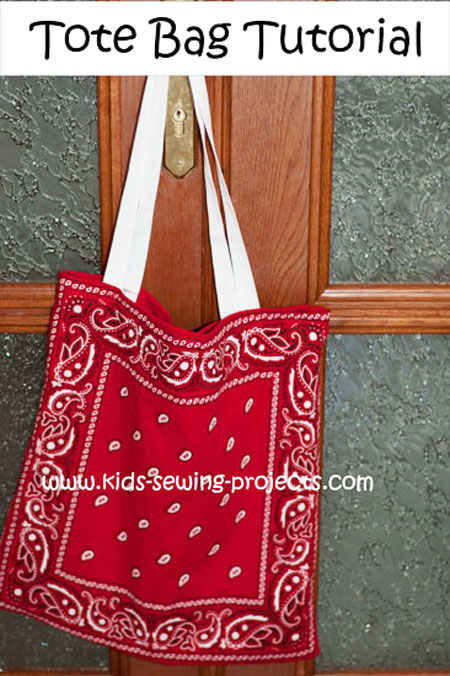
How to sew a tote bag made from bandannas or handkerchiefs
You will need:- 4 bandannas or handkerchiefs
- 1 ½ yards of 1 inch wide webbing for handles
Sewing Materials Available

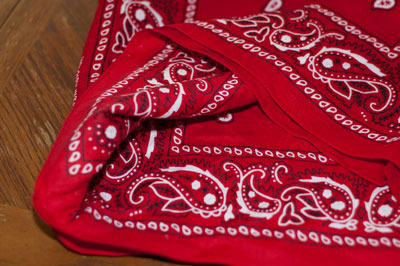
Place right sides of two bandannas together. It may be hard to
tell which is the right side on some bandannas so use what you
think looks best as the right side. Sew along three sides leaving
one side open.
Sew the other two handkerchiefs together following the same
directions. One piece will be the inside of the bag the other will
be the outside. Turn one bandanna right side out. Place one bag
inside the other. Wrong sides will be together. Smooth out corners
and sides.
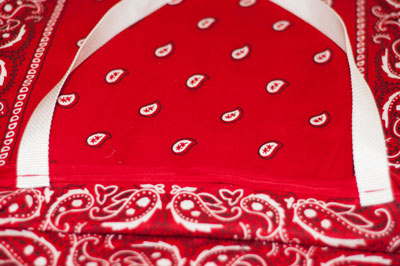
 You can use these directions to sew a tote bag with a lining
using any type of material. Use a bandanna as your pattern to
measure the length and width of your material.
You can use these directions to sew a tote bag with a lining
using any type of material. Use a bandanna as your pattern to
measure the length and width of your material.Need a fun hand sewing project?
Felt Sewing Patterns!

Sew a Tote Bag - Video
Netbook Carrier
by Bonnie Anderson (Grass Valley, CA USA)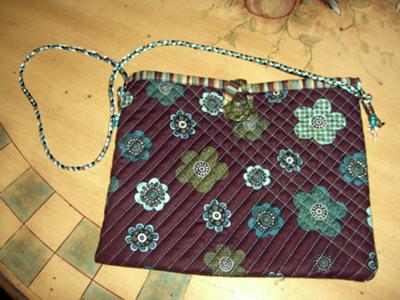
A fun variation of how to sew a tote bag with an inside lining.
Supply List:
- Two pieces of coordinating fabric at least 24"x10" (or at least 3" bigger than the dimensions of your netbook), one for the outside and one for the lining.
- One piece of lining fabric 7" long and 1 1/2" wide
- One piece of batting 24"x10"
- One large button
- Bias tape (purchased to match fabric or make your own from fabric scraps)
- Thread
- Three strands of satin cording 2 yds. long each for the shoulder strap.
- Beads to decorate shoulder strap
Layer the batting between the two pieces of fabric with the right sides facing to the outside (like a sandwich).
"Quilt" the layers together, starting at one corner and making rows of stitching 1/2" (or the width of the presser foot)apart.
Quilt across again going the opposite way so you are creating a grid of small squares. Go only halfway across this time.
Fold fabric in half (with the outside fabrics facing each other) so you have an envelope-shaped rectangle and sew down the side and across the bottom, leaving the top open. Zig-zag the raw edges together. Turn bag right side out.
Sew bias tape around the top open edge to enclose the raw edges and give it a finished look (or make your own from the lining fabric).
Sew a large button on the front.
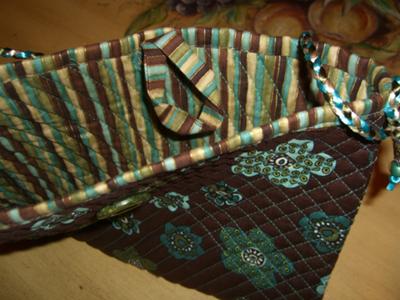
Turn in 1/4" on the raw edges of the 7" x 1 1/2" piece of lining fabric. Press. Fold in half with wrong sides facing each other and press again. Sew close to the edges all the way around. Fold in half so you have a loop to go over the button.
Lay the loop centered on the inside of the bag with the loop pointing out away from the bag and the two ends overlapped on top of each other. Stitch back and forth across the two ends to secure them along the seam line of the bias tape.
Knot the three strands of cording together leaving about 3" of cording free and pin to something to hold them in place while you braid them together. Tie off the end when you finish braiding leaving about 3" of cording free. Thread some beads onto the 3" pieces for decoration and knot at the ends to old the beads on.
Slip your netbook into your case, secure the loop over the button and you're on your way in style!
*Can also be used as a purse or travel portfolio for art supplies.
More Tote Bag Tutorials
For a tote bag without a lining see these sew a tote bag instructions.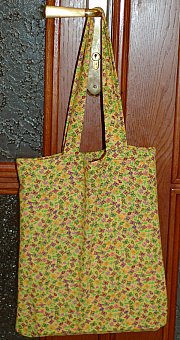
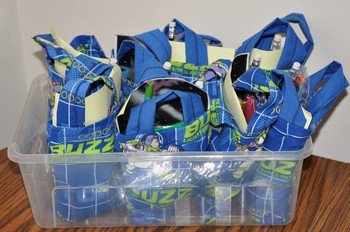
A smaller size bag makes a great goodie bag for a party.
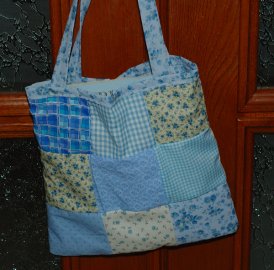
Patchwork Tote Bag- Use your fabric scraps to create a tote bag.
Related Beginning Projects:
~Beginning Lessons, ~Bandanna Tote Bag with an Inside Lining, ~Sew a Simple Belt, ~Bottle Bag, ~Christmas Stockings, ~Circle Pillow,~ Coasters, ~Couch Caddy, ~Dinner Placemat, ~Dress Up Your Jeans, Foam Pencil Case, ~Gathered Apron,~Hair Scrunchy, ~How to Sew Drawstring Bags, ~How to Sew Tote Bags, ~Jean Purse, ~Jean Apron, ~Lap Desk, ~Neck Pillow, ~Patchwork Tote Bag, ~Patchwork Pillow Cover, ~Pillow with Pocket, ~Pillow Cover with Ties, ~Pillow with Trim,~Pocket Purse,~ Sew a Pot Holder, ~Stuffed Animal, ~ Stuffed Ball, ~T-shirt Drawstring Bag, ~Sew a Card, ~No Sew Projects, ~Sewing Safety, ~Felt Patterns~Pillowcase Scarf, ~Felt Tooth Fairy, ~Stuffed Elephant, ~Stuffed Monster,~ Pretty Purse, ~Mini Stuffed Dog, ~Stuffed Bear, ~Baby Receiving Blanket,~ Baby doll blanket & pillow,~Patchwork Skirt, ~Reusable Snack Baggie, ~Glasses Case, ~Sew Tablecloth, ~ Pocket Pillow
Follow Kids Sewing Projects


