Wall Hanging Sewing Project
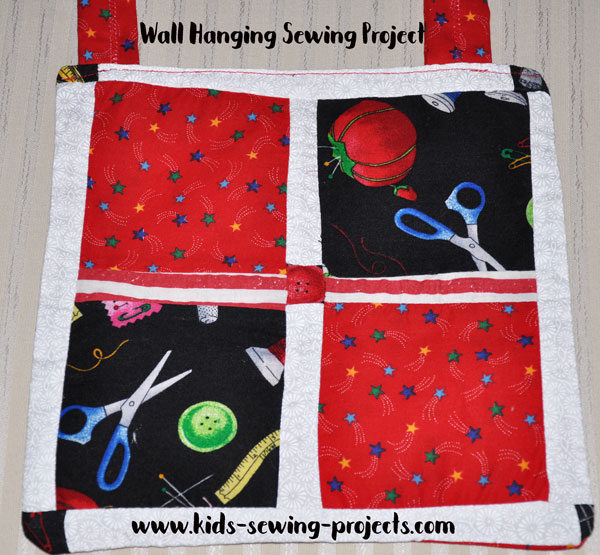
This wall hanging sewing project makes a great homemade
decoration for bedrooms, living rooms or as presents. These are
also known as quilt samplers. You will need to pick several
different fabrics to work with that coordinate together. We have
two examples below with directions and pictures, one with squares
and one with triangles.
Sewing Materials Available
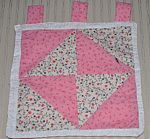
Wall Decoration with Triangles
You will need:- 2 - 5"x5" squares from 2 different fabric
- 2 strips fabric- 10"x1"
- 2 strips fabric-14"x 2"
- fabric backing 12"x12"
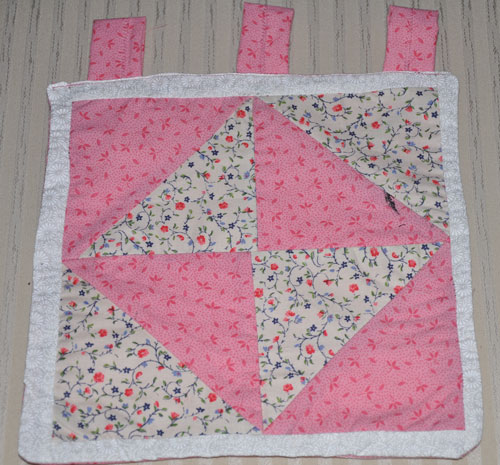
Sew different colored triangles together.
Arrange in whatever pattern you'd like.
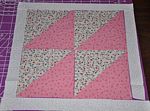
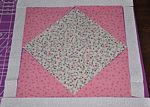

Sew finished squares together in your pattern.
Sew 10"x1" strips to each side.
Sew longer strips to top and bottom.
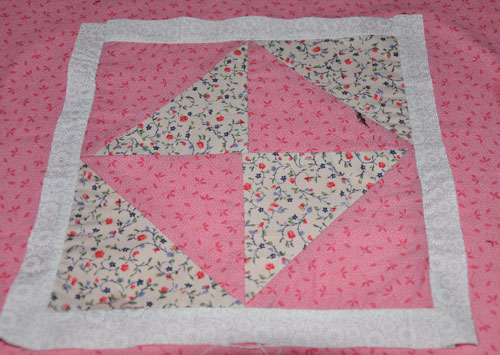
Cut off any excess material from your strips.
Iron the back side of your triangles flat.
Place the right sides together of your backing and finished top. Sew along edges leaving a hole open to turn right side out.
Turn material right side out and iron flat.
Tuck in material from the hole and pin. Sew edge closed.
Make loops for hanging
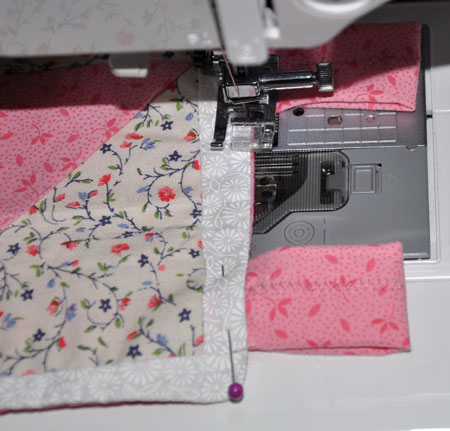
Cut 3 -3"x 5" strips out of extra pieces of fabric.Turn top edge down toward the middle. Turn bottom up over the top edge. Pin in place. Sew right down the middle.
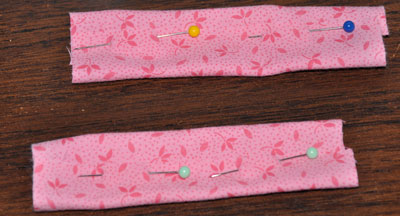
Pin ends of loops on the back of your top edge and sew along edge.
Square Wall Hanging
You will need:- 4 squares of fabric, different colors or patterns 4"x 4" or 5" x 5"
- 4 strips of fabric, different colors or patterns 4"x 1"
- 5- 1x1 fabric squares
- 4-9"x1" fabric strips
- loops for hanging see directions above
Start sewing row by row leaving the side strips for later.
First row is square, small strip, square.
2nd row small strip, small square, small strip.
Third row is square, small strip, square.
Sew small squares to top strips.
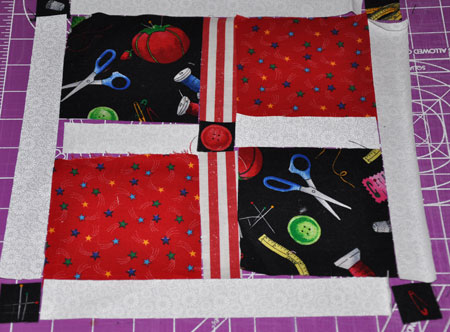
Next sew bottom row to middle row. Sew top row to middle row. Now sew side edges without the squares to the sides of wall hanging. Finally sew top strips with squares on the end to the top and bottom.
Iron flat.
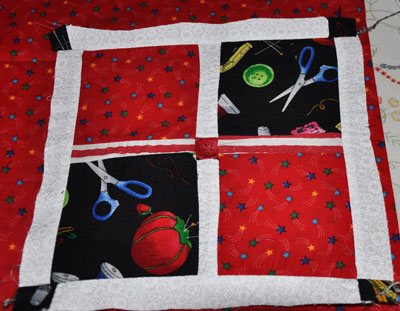
Place the right sides together of your backing and finished top. Sew along edges leaving a hole open to turn right side out.
Turn material right side out and iron flat.
Tuck in material from the hole and pin. Sew edge closed.
Sew tabs on the top of your decoration.

Related Kids Lessons Projects:
~Kids Sew Lessons, ~Applique Shirt Project, ~Bath Mitt, ~Binder Cover,~Christmas Cone Ornaments,~Cloth Basket,~Cloth Basket Tray with Ribbon Corners, ~Cloth Dinner Napkins or Bread Cloths,~Easy Sew Curtains,~Fairy Costume, ~Headbands,~Jean Skirt,~Pillowcase Skirt, ~Prairie Points,~Sew Purse, ~Recycle Your Old Tie Projects,~Reversible HeadBands, ~Shirt into Shorts Project,~Shirt and Transform it into a Dress,~Tie Pillow, ~Tie Skirt,~Tiered T-shirt Skirt, ~Wall Hanging, ~Shorts, how to sew, ~Entertainment Bag
Follow Kids Sewing Projects


